A New Houseplant: What to Check in the First Week
The first week is a chance to understand a plant and its conditions. Keep the routine simple enough to notice what changes.
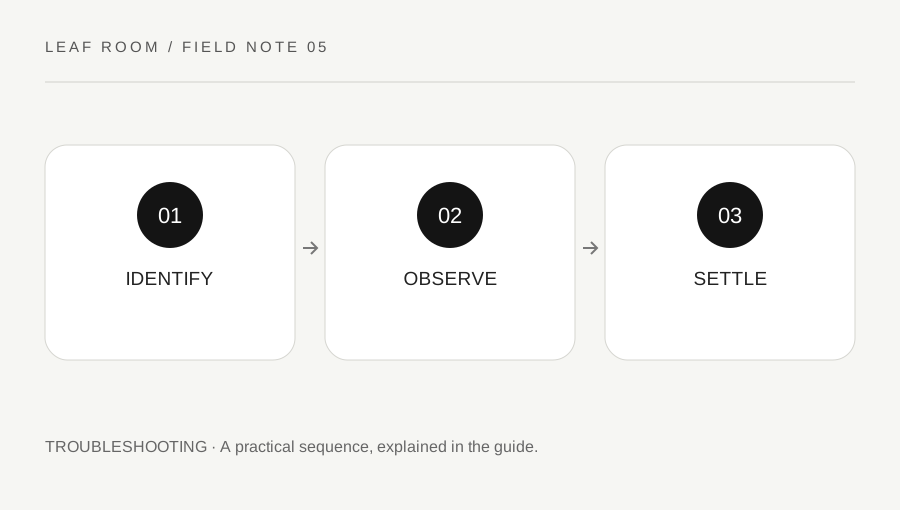
Original explanatory diagram. Numerical examples in this guide illustrate the reasoning; they are not a claim of hands-on testing.
Bring useful information home
Keep the label and record the plant name, shop instructions and purchase date. Check whether the attractive outer container hides a nursery pot and whether either contains standing water. Look over the leaves, stems and undersides for damage or possible pests.
Choose a position that matches the plant requirements rather than the empty space that looks best. Keep it away from pets and children if its suitability is unknown, and check a reliable toxicity reference for the exact species before placing it within reach. A general houseplant label is not enough to establish safety.
Avoid stacking up changes
A new location already changes light, temperature and air movement. Unless the plant has an urgent container or root problem, avoid automatic repotting, heavy feeding and pruning on the same day. Inspect moisture before watering; a plant may arrive with wet mix even if the surface looks dry.
Keep a newly acquired plant apart from established plants while inspecting it for pests. The observation period depends on the situation and any pest concerns. Do not apply a routine pesticide treatment without identifying a problem and checking the label and local guidance.
Create a baseline worth comparing
Make a simple entry: location, approximate pot size, moisture observation and visible condition. Take one whole-plant photograph and one close-up of any existing mark. This prevents you from interpreting old damage as a new problem later.
For example, write “small brown patch on lower leaf at purchase; inner pot damp; no water added” rather than “plant unhealthy.” Check whether the patch expands and whether additional leaves develop the same change. Your goal is to establish a stable routine and a clear record, not to complete a long list of interventions in seven days.
Write a first-week baseline
An example baseline might read: “Plant identified from label; nursery pot inside ceramic cover; one marked lower leaf; mix damp; placed near a suitable window away from a radiator.” Add a photograph and leave enough detail to recognize the same leaf later. This is more informative than recording only the purchase price or the name of the shop.
At each early check, compare the baseline with what is new. If a mark was present at purchase and remains unchanged, it is different from a new expanding patch. If the pot was damp initially, waiting to water can be a positive care decision. Record what you see before deciding what to do.
Keep the routine easy to repeat: inspect the mix, look under a few leaves, check the cover pot and notice the room conditions. You do not need to disturb the roots at every inspection. If you see a possible pest, keep the plant separate and seek identification before choosing a treatment. A first-week checklist is successful when it gives you a clear understanding of the plant, not when every box represents an intervention.
A practical checklist
Tick items for your own use. This checklist is saved only in this browser.
Questions that come up
Should I feed it immediately?
Check the plant and potting-mix guidance first. Feeding is not a substitute for appropriate light, watering and drainage.
Should I remove the nursery pot immediately?
Not automatically. First inspect its condition, drainage and fit. A decorative cover can be used around a suitable inner pot if excess water can be removed.
Can I choose a plant from appearance alone?
Appearance can guide your preference, but check the species’ light, temperature and care requirements against the home you can provide.
References & scope
Background references checked on 18 October 2026. The examples and practice exercises are original editorial explanations, not copied procedures or professional advice.